How to crochet granny squares that are actually square, that lie flat and join without forcing, even if yours keep turning into diamonds.
A square that ruffles, a square that is not square, a square turning into a triangle: three symptoms of one cause, a corner worked as a side. Fourteen chapters, two motifs, one shared edging.
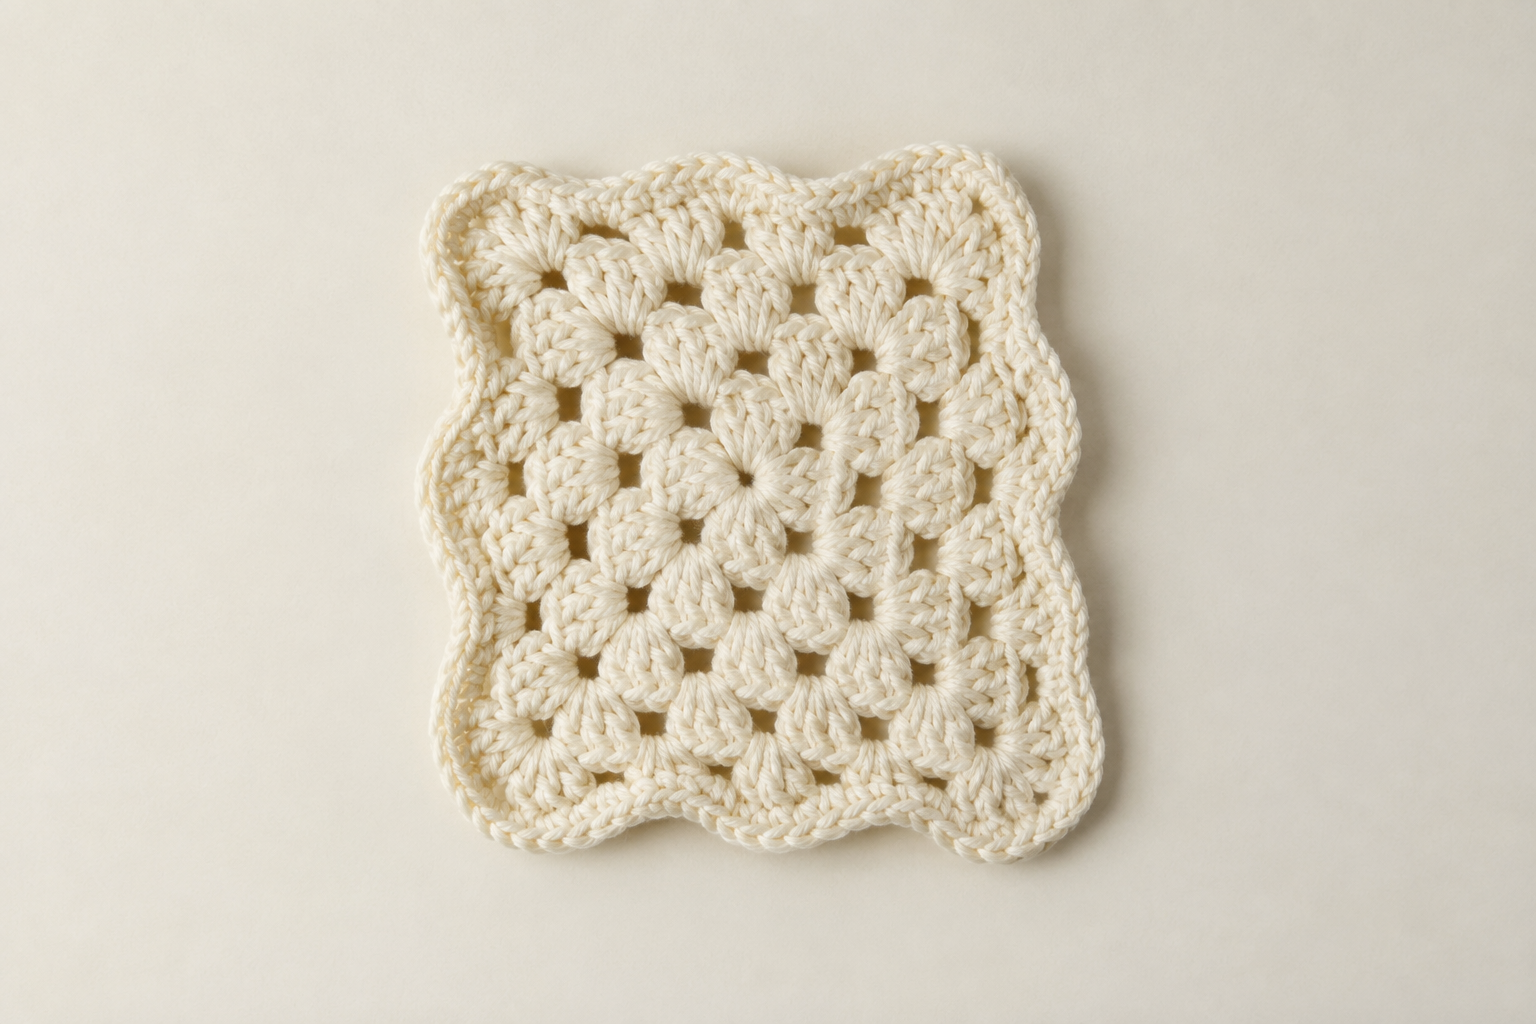
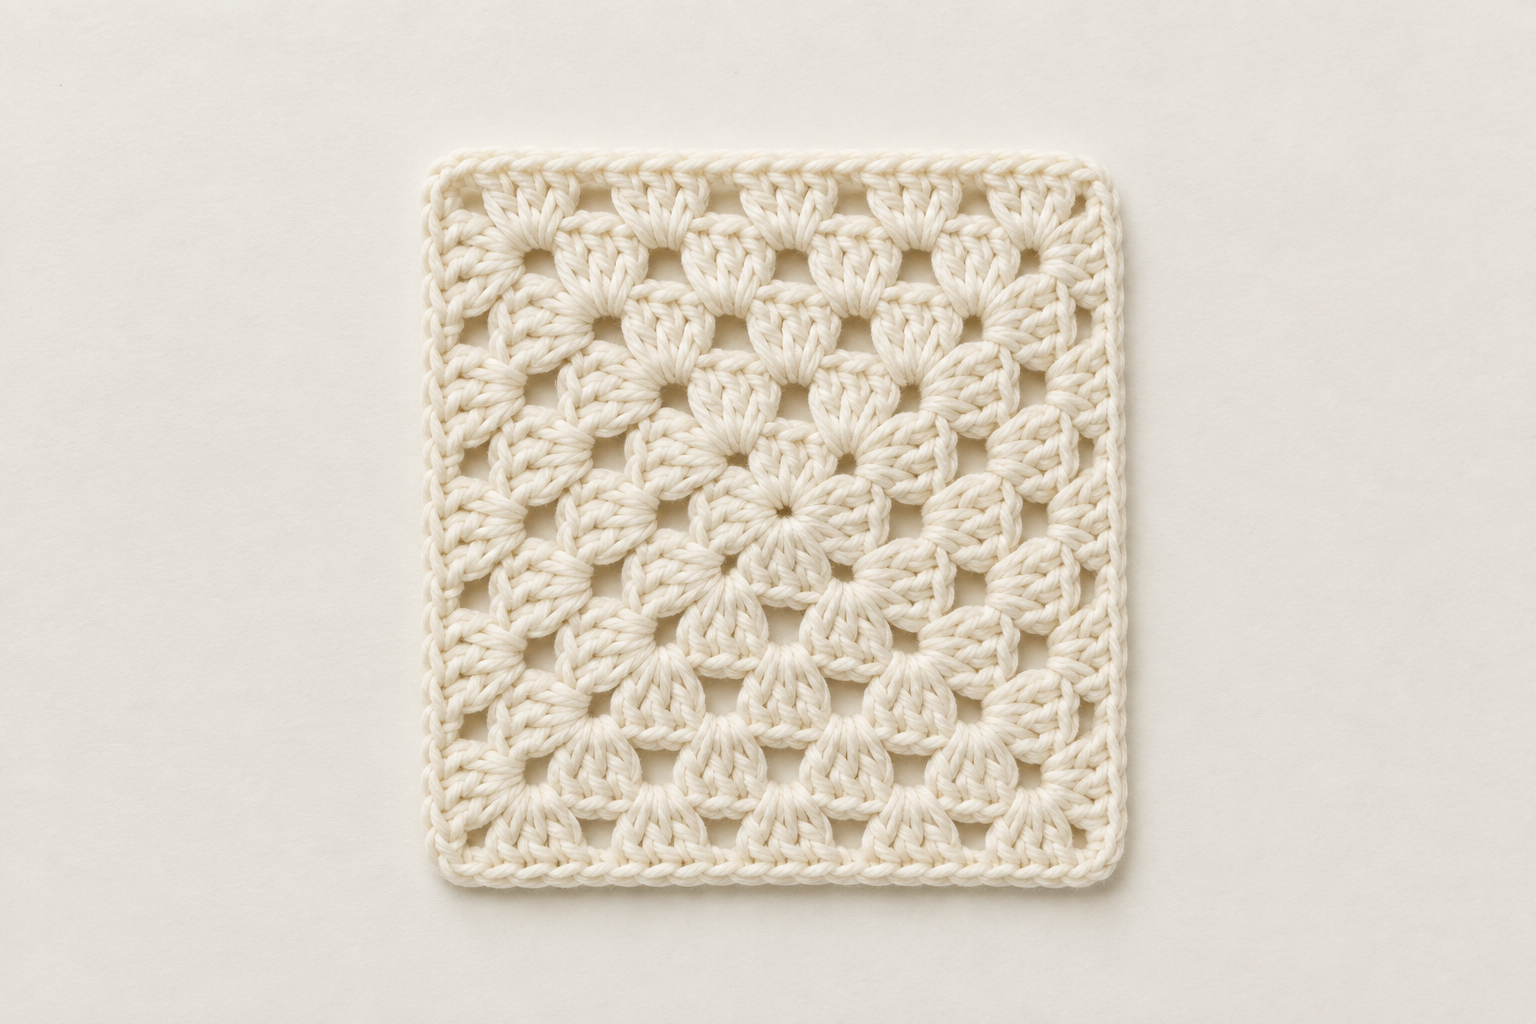
The difference happens in one place: what you do in the four corners.
Keep reading if you want to:
- Get a square that lies flat on the table, instead of one that waves along its edges.
- Understand why your squares turn into diamonds, and fix the cause instead of starting over.
- Work both motifs, the classic one with spaces and the solid one, and know they mix in a single piece.
- Join your squares with a seam that does not show, including where four corners meet.
- Change color without losing the count and without leaving a step at the join.
- Know, before you start a panel, how many squares and how many joins it will ask of you.
From: Elodie Marchand
Crochet teacher and founder of The Crochet Method.
Location: Nantes, France.
Three complaints, one cause
"It will not lie flat." "It is not square." "It is turning into a triangle." Those are the three sentences you read everywhere, and they are three symptoms of the same thing.
A granny square grows through its corners. Work a corner as if it were a side, even once, and the square stops being square, and every round after that makes the gap bigger.
This book starts there, in chapter 2, before it has you work a single double crochet.
What a granny pattern does not tell you
"Rnd 3: (3 dc in space, ch 3) around, with (3 dc, ch 3, 3 dc) in each corner." It is all there, and nothing is explained. Where the round begins, which space is a corner, what happens if you skip one.
Videos film the hand placing the stitches. They rarely film the moment you stop to check that there are still four corners, and never the moment you notice, three rounds later, that there are only three.
In a closed round there is no seam, no line. Without a marker you put there on purpose, a corner missed on round three is only found on round six.
At that point you have two options
Option 1 produces a basket of mismatched squares. Option 2 takes three minutes to set up and works on every square after this one.
The principle: a corner is not a side
The whole book fits in that sentence, and in what it means round after round:
From there, everything is counted:
- Round 1. Four groups, four corners, twelve stitches. The square is square from the start.
- The rounds after. Each round adds four groups, one per side: 8, 12, 16, 20, 24. A count that does not add up shows on the round it happens.
- The edging. Twenty-three stitches per side, on the classic motif and on the solid one. That equality is what makes them interchangeable.
- The join. Twenty-three pairs per side, and a four-corner crossing worked in a precise order.
That is the difference between a basket of squares and a finished piece.
Just imagine for a moment...
- Setting a square on the table and watching it stay perfectly flat, without pressing or blocking it.
- Making thirty squares that all go together, because they all share the same edging.
- Joining two squares and being unable to find the seam a minute later.
- Opening a pattern from an English site and knowing exactly what it asks for.
Written for the left hand as much as the right
The direction of travel in a closed round changes everything for a left-handed crocheter: it is not only which hand holds the hook, it is which side the next corner is on.
Every movement in this book is written twice, in its right-handed path and in its left-handed path, each with its own illustration, all the way to joining the squares.
I am pleased to introduce my digital book:
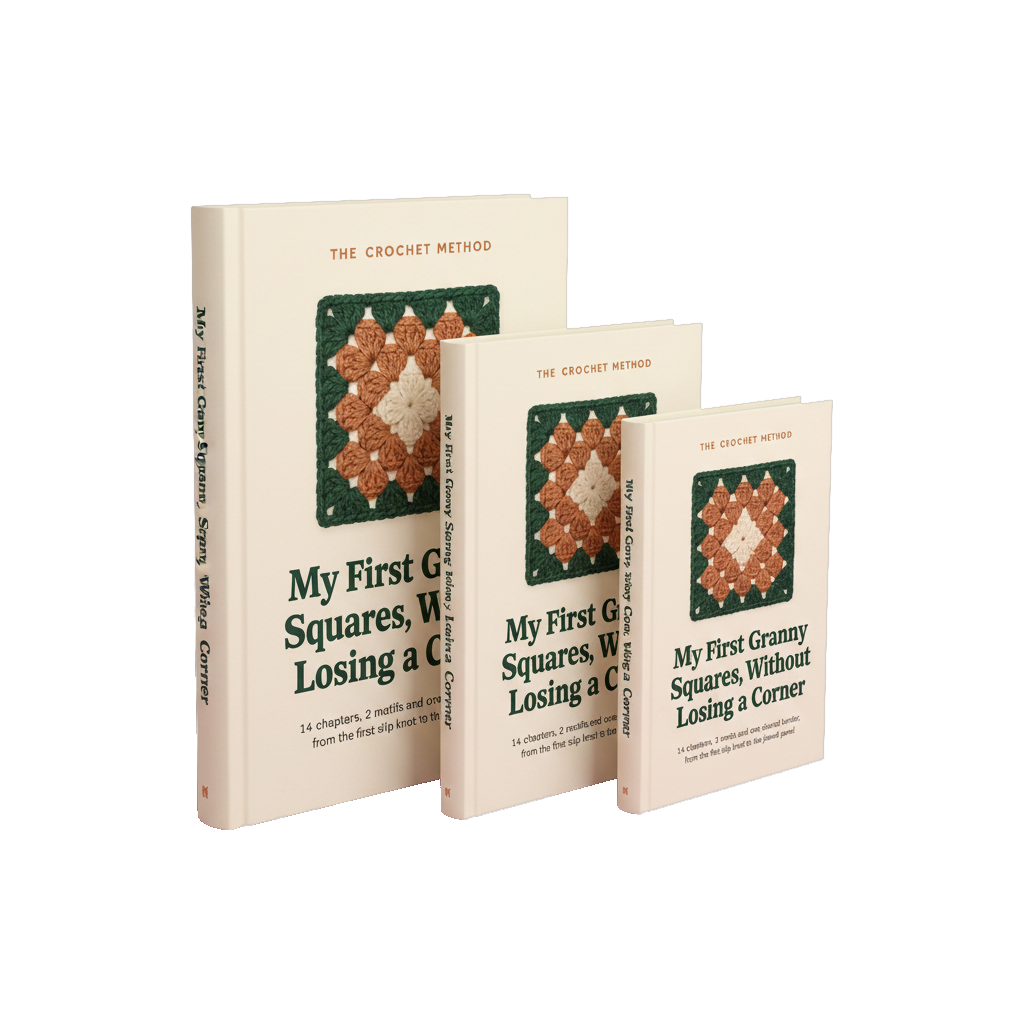
My First Granny Squares, Without Losing a Corner: fourteen chapters, two motifs, and a panel joined from the first square to the last seam.
This is not a collection of models. It is a path from the first slip knot to a panel of joined squares, where every movement arrives when it becomes useful, with the count to check before you continue.
And it is a fully illustrated book: every movement has its close-up view, framed on the space the hook enters, in both the right-handed and the left-handed path.
What you will go through, chapter by chapter
The move that changes everything fits in one sentence.
Before you close each round, count your corners.
There must be four, not three, not five.
If the count is wrong, you undo one round.
The rest of the book follows from that.
Ready to start?
Here is everything you get today
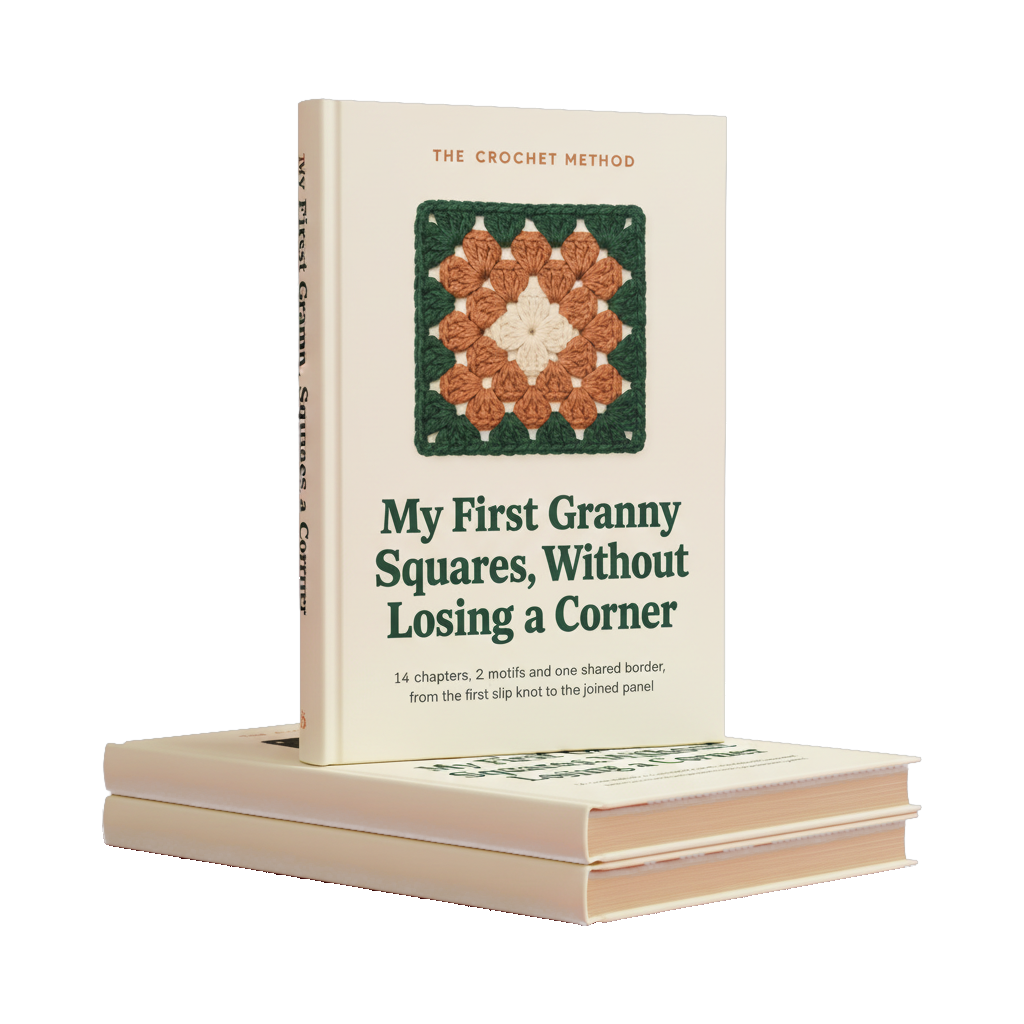
Everything is a PDF, to read on the phone beside you, or to print. Here is exactly what you receive:
- The complete, fully illustrated book "My First Granny Squares, Without Losing a Corner" in PDF, fourteen chapters (value $47)
- Both motifs, the classic one with spaces and the solid one, with the shared edging that makes them interchangeable (included)
- The left-handed path written and illustrated separately, all the way to joining the squares (included)
- The printable log sheet and the panel plan (included)
- Lifetime access and every update (included)
Value: $47 → today:
This price will go back up to $47. Ordering today locks it at $17.
Our 30-day satisfaction guarantee
I know what a basket of squares that do not match feels like. That is why I take all the risk off your side.
Take the book, make the squares, one chapter at a time. If after 30 days your squares are no straighter, write to us at contact@thecrochetmethod.com. We refund you in full, no questions. And you keep the book.
In other words: either this book moves you forward, or it costs you nothing.
P.S. Ordering today gets you the fully illustrated book "My First Granny Squares, Without Losing a Corner" for $17 instead of $47. Fourteen chapters, two motifs, one shared edging, from the first slip knot to a joined panel. The principle: a square does not grow through its sides, it grows through its four corners. And if within 30 days the book does not help you, you are refunded in full.
P.P.S. Remember: this price will go back up to $47. Counting your corners before closing a round takes five seconds. That is all that separates a square that ruffles from a square that lies flat.